Travel The Himalayas
Curated Experiences in the Himalayas
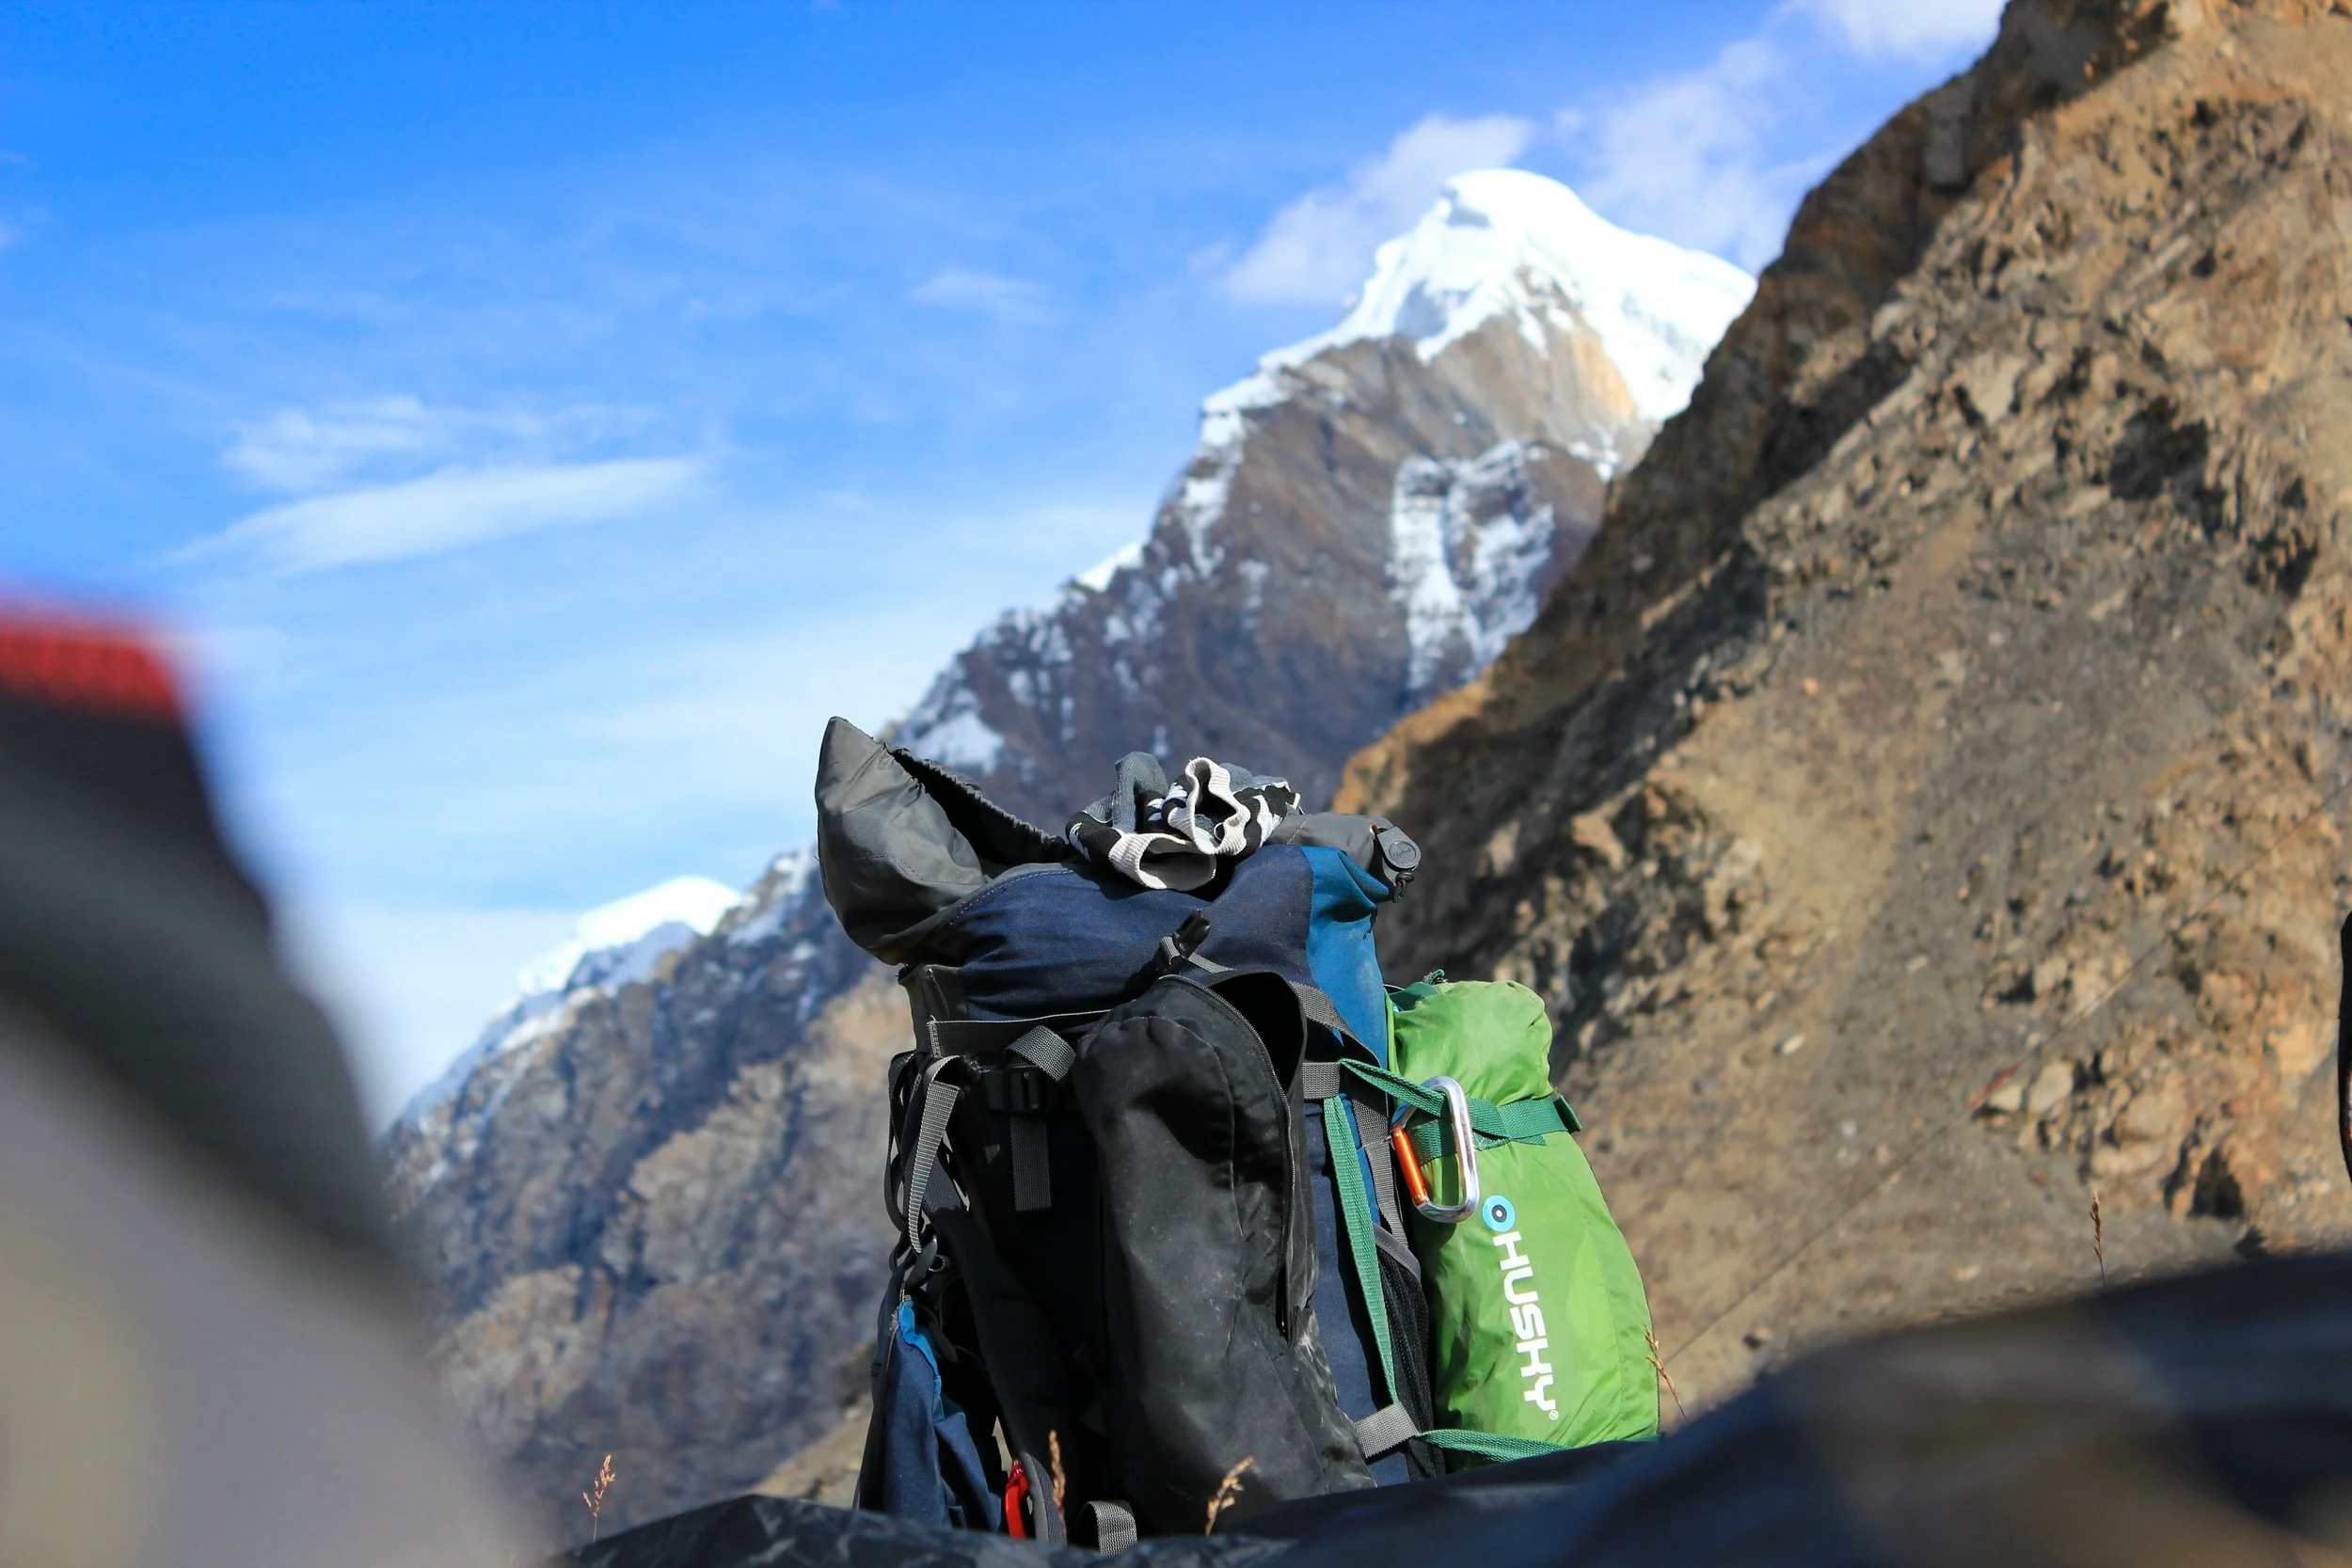
How to Pack a Rucksack
1. Decide What to Take
Try and limit yourself to the essentials.
As a rule you should not exceed 15KG, the lighter the better!
2. Lay Out Your Kit
Laying out everything you want to pack will help you decide what’s important and what can be left behind.
3. Organise Your Kit Into Groups
Different bags will help you to separate similar items and keep your kit dry.
How you organize your clothing is up to you. You can use one bag for underwear and one for tops and trousers, or arrange the bags by outfit
Rolling your clothing items tightly can help you maximize space.
4. Pack Heavy Items First
Make sure the weight in your pack is distributed evenly.
Heavy items such as tents, stoves and water should be placed towards the bottom of the bag against your back.
Check that any items placed towards the back are not sticking out as these will dig into your back.
5. Pack Medium Weight Items Second
Medium weight items such as sleeping bags and bulkier clothing can be placed towards the bottom of the bag.
Bigger bags often have a separate compartment at the bottom for storing your sleeping bag. This compartment is also useful for spare shoes.
6. Pack Light Items at the Top
Lighter items such as gloves, hats, torches and maps should be stored towards the outside of the pack or at the top.
Items you need quick access to such as first aid kits, snacks and waterproofs should also be placed near the top or in side pockets.
7. Pack the Pockets
When packing items in the pockets, consider weight distribution. You don’t want too much weight on one side as this will throw you off balance.
8. Attach Items to the Outside
If you’re taking a sleeping mat and it doesn’t fit inside your rucksack, you can attach this to the outside. Ideally, you should strap the mat vertically to the pack as this will minimize damage should you put your bag down.
Avoid attaching anything you cannot afford to get wet, damaged or lost to the outside of your rucksack.